How to use `kubeconfig` to experience OpenYurt capabilities
This document will describe how to experience the multi-domain workload manage capability of OpenYurt through kubeconfig provided by Experience Center.
Configure kubeconfig locally
You need to configure kubeconfig locally before you can manage the cluster via kubectl.
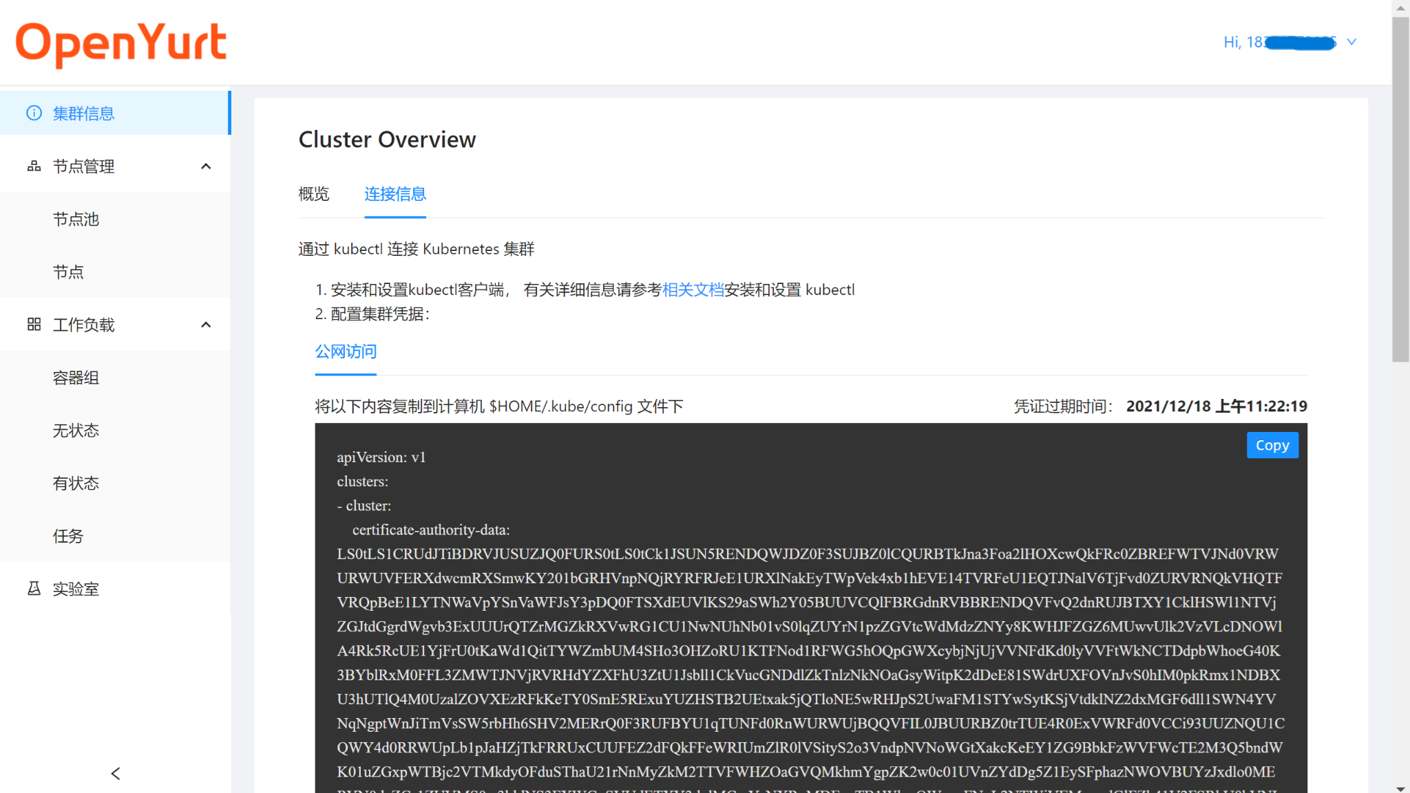
- Copy
kubeconfiginformation in "Connection Information" tab under "Cluster Information" page
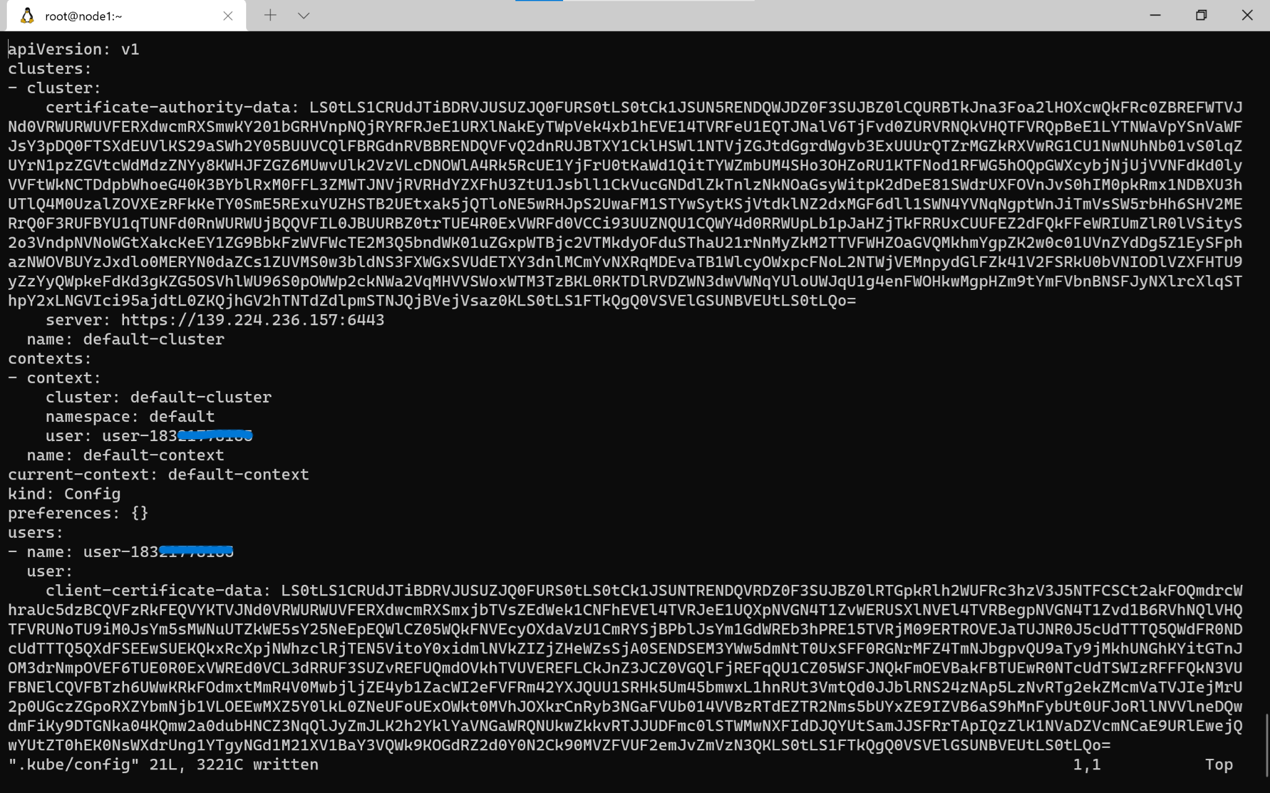
- Save the copied
kubeconfiginformation to the local~/.kube/configfile
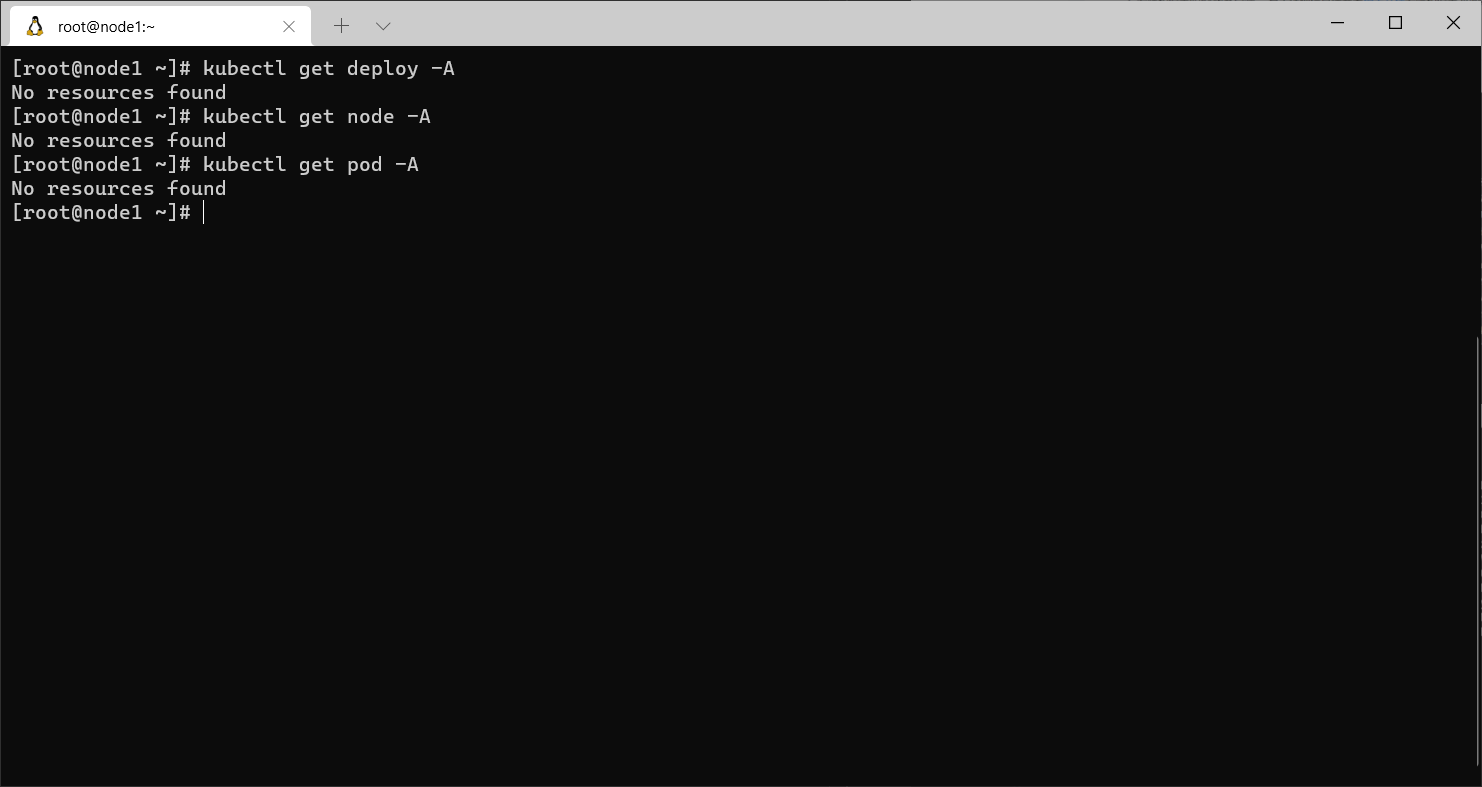
- If the configuration has been all set, you can use
kubectlto manage the cluster
Experience OpenYurt's multi-domain workload manage capability
OpenYurt is designed for edge computing scenarios, allowing users to group workloads into different units distributed in different geographical locations. Here is a simple scenario to experience the multi-domain workload manage capability of OpenYurt.
Now that we have two edge-side nodes, node1 and node2, in different locations (e.g. node1 in Hangzhou and node2 in Shanghai). We want to deploy applications to the Hangzhou node but not to the Shanghai node. OpenYurt does this with two resources, NodePool and YurtAppSet (previous UnitedDeployment) to achieve this capability.
- Suppose we have two nodes, node1 and node2, connected to OpenYurt cluster (Don't know how to join nodes? Please refer to the documentation: How to use web_console)
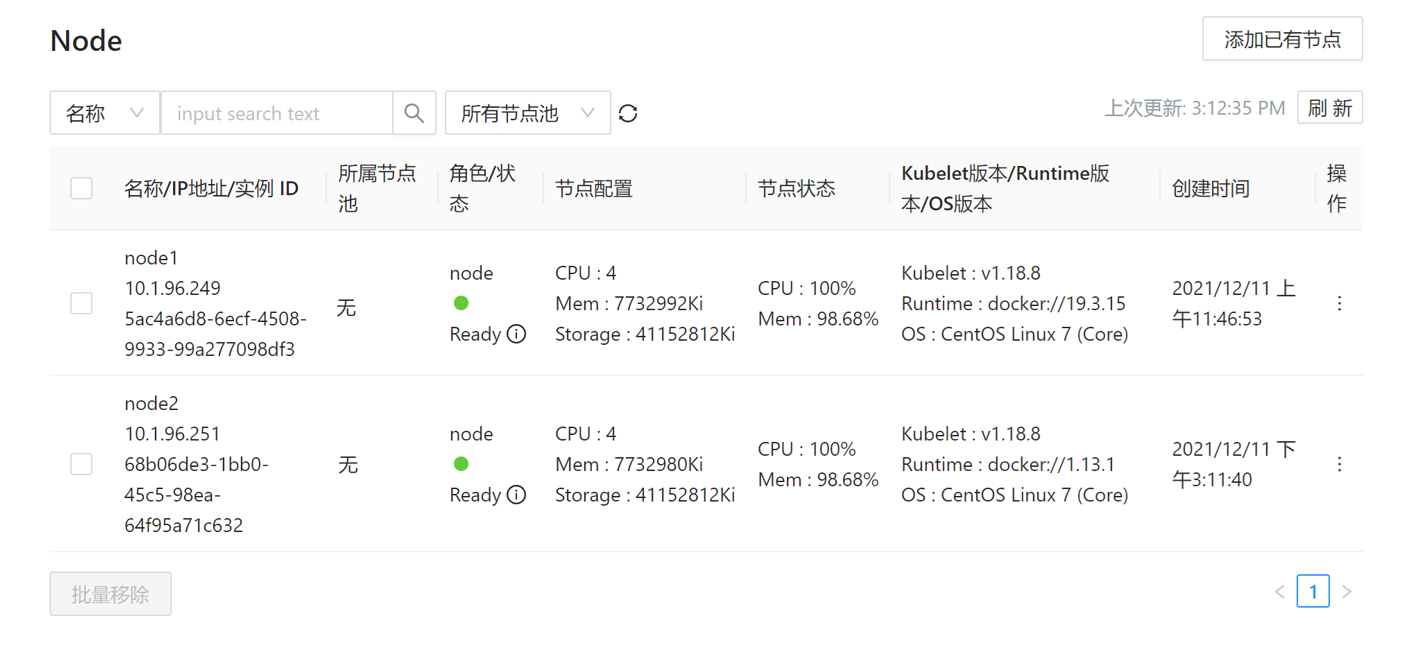
- Create a NodePool resource by
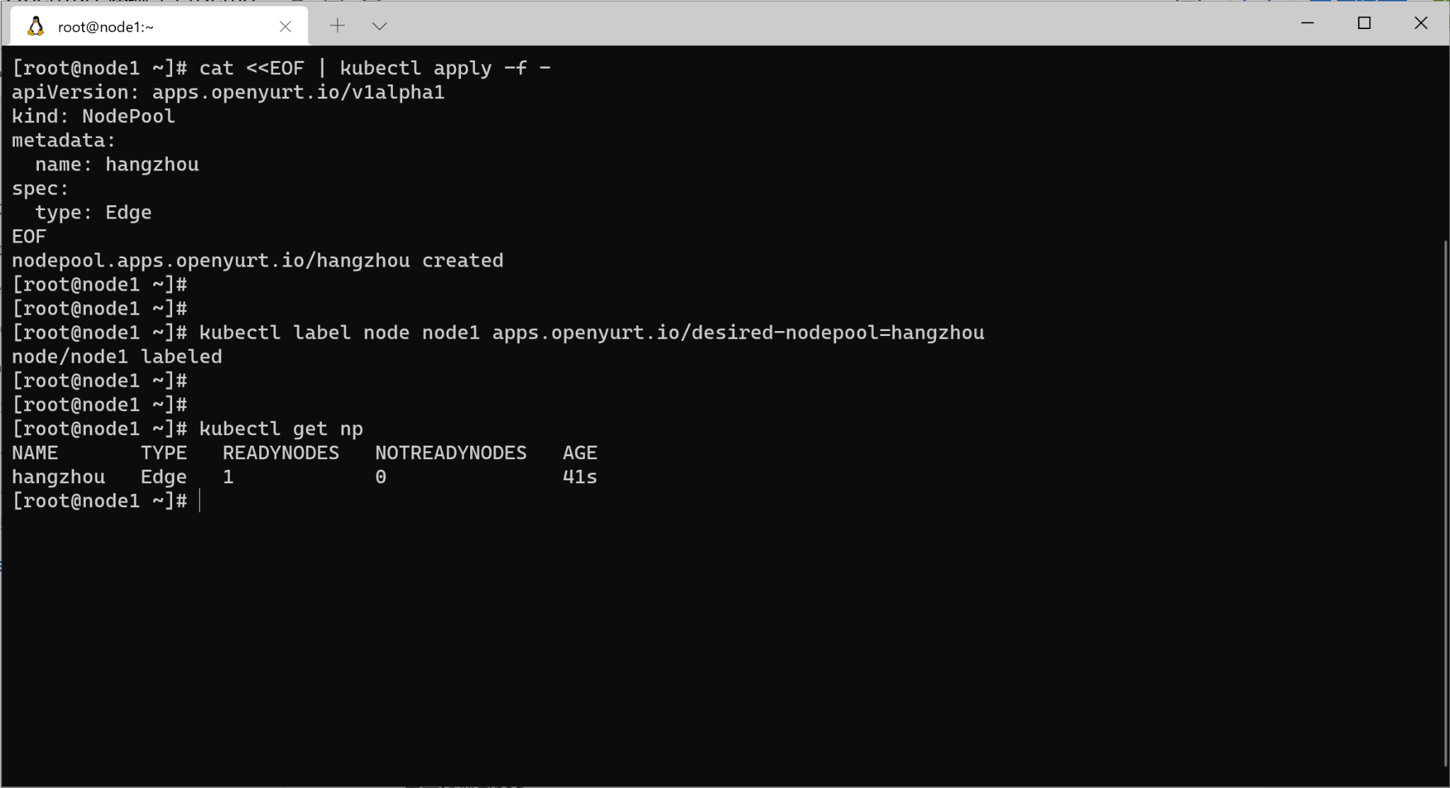
kubectlon the local node wherekubeconfigis configured, and add node1 to that NodePool
# create nodepool hangzhou
cat <<EOF | kubectl apply -f -
apiVersion: apps.openyurt.io/v1alpha1
kind: NodePool
metadata:
  name: hangzhou
spec:
  type: Edge
EOF


# add node1 to nodepool
kubectl label node node1 apps.openyurt.io/desired-nodepool=hangzhou

# display nodepool
kubectl get nodepool
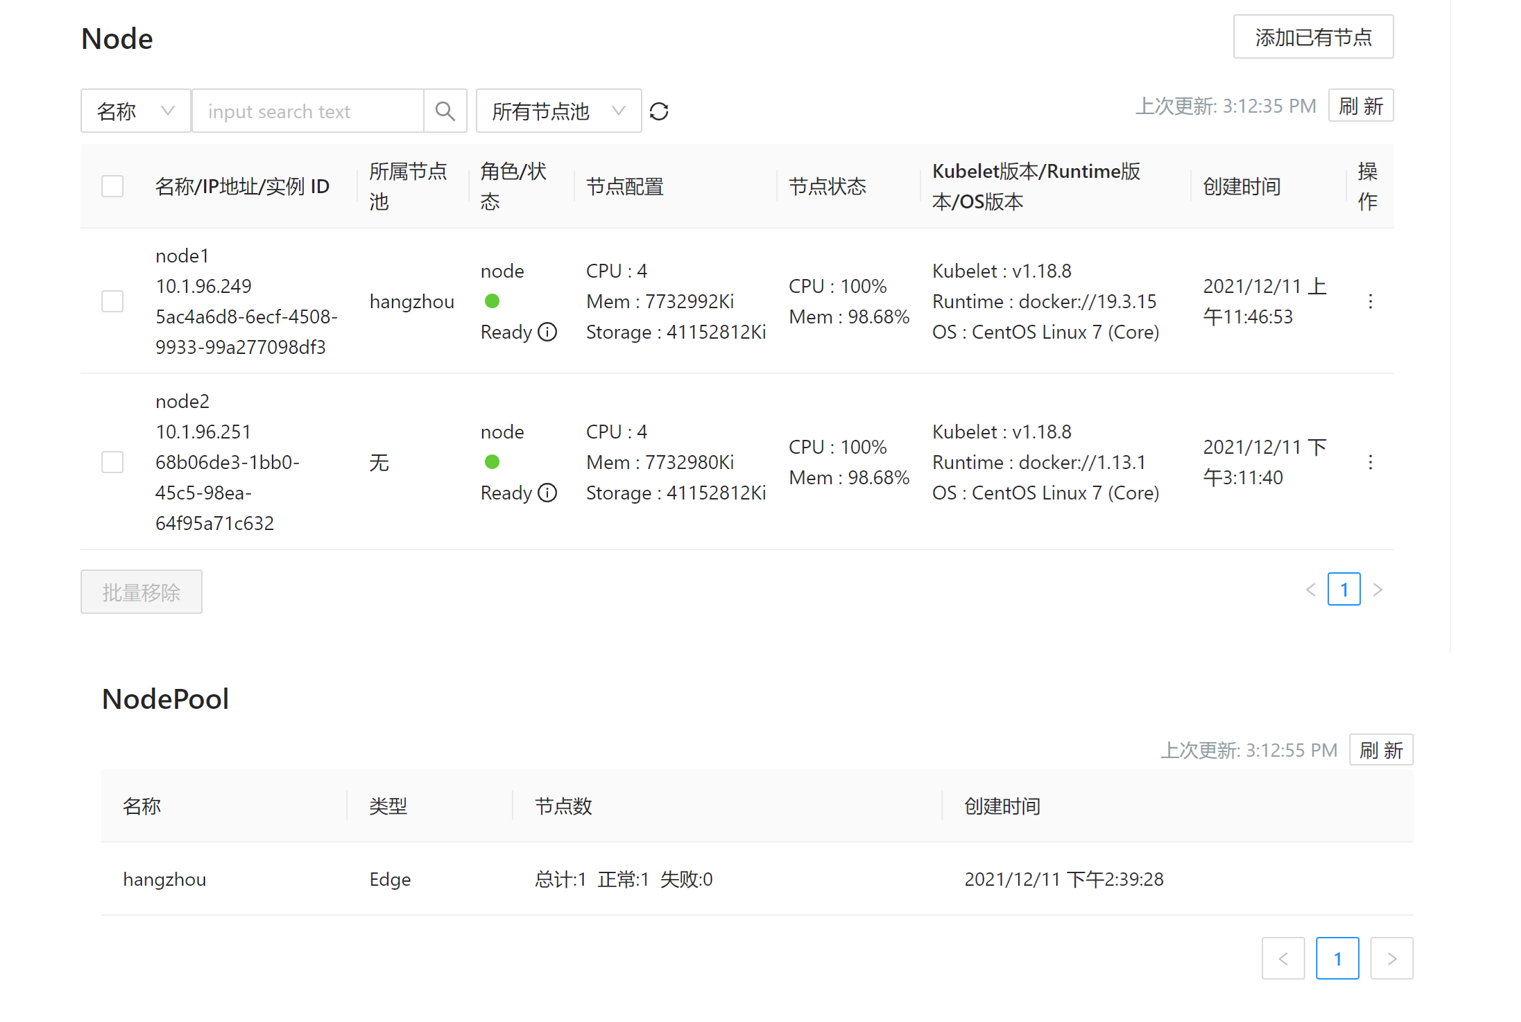
The corresponding NodePool information can be seen in browser page.
- Create workload resources via
kubectland only deploy the application to hangzhou's node pool via YurtAppSet
cat <<EOF | kubectl apply -f -
apiVersion: apps.openyurt.io/v1alpha1
kind: UnitedDeployment
metadata:
  labels:
    controller-tools.k8s.io: "1.0"
  name: ud-test
  namespace: "183xxxxxxxx"  # Notice: change this with your own namespace
spec:
  selector:
    matchLabels:
      app: ud-test
  workloadTemplate:
    deploymentTemplate:
      metadata:
        labels:
          app: ud-test
      namespace: "183xxxxxxxx"  # Notice: change this with your own namespace
      spec:
        template:
          metadata:
            labels:
              app: ud-test
          spec:
            containers:
              - name: nginx
                image: nginx
  topology:
    pools:
    - name: hangzhou
      nodeSelectorTerm:
        matchExpressions:
        - key: apps.openyurt.io/nodepool
          operator: In
          values:
          - hangzhou
      replicas: 1
  revisionHistoryLimit: 5
EOF

# display the resources
kubectl get node
kubectl get pod -A
kubectl get nodepool
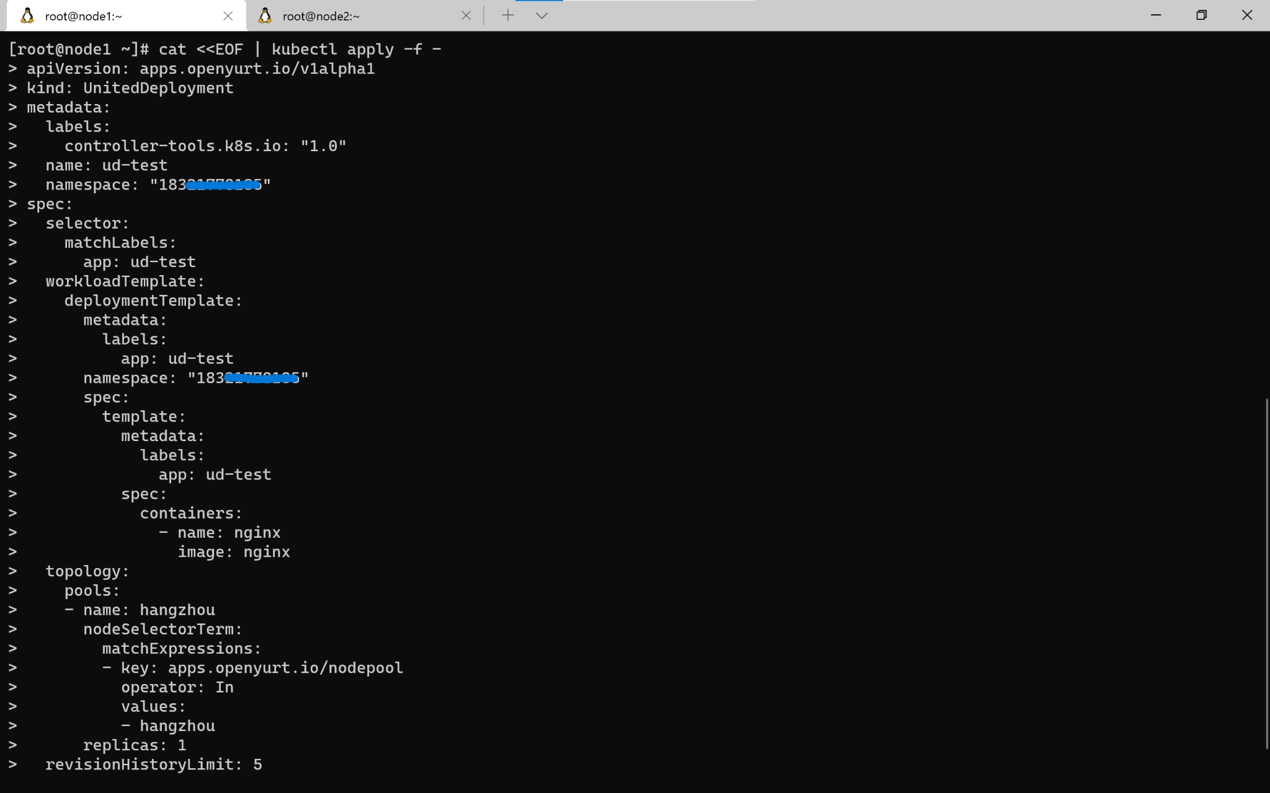
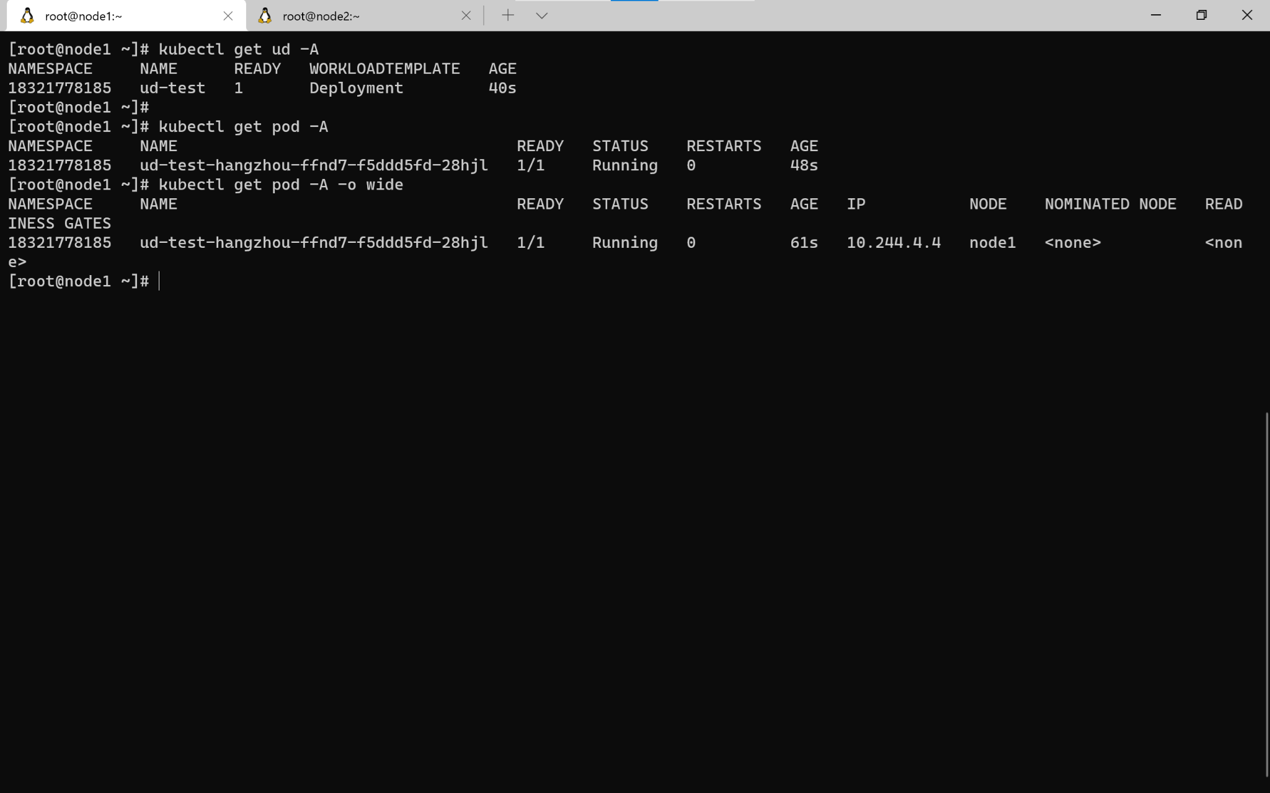
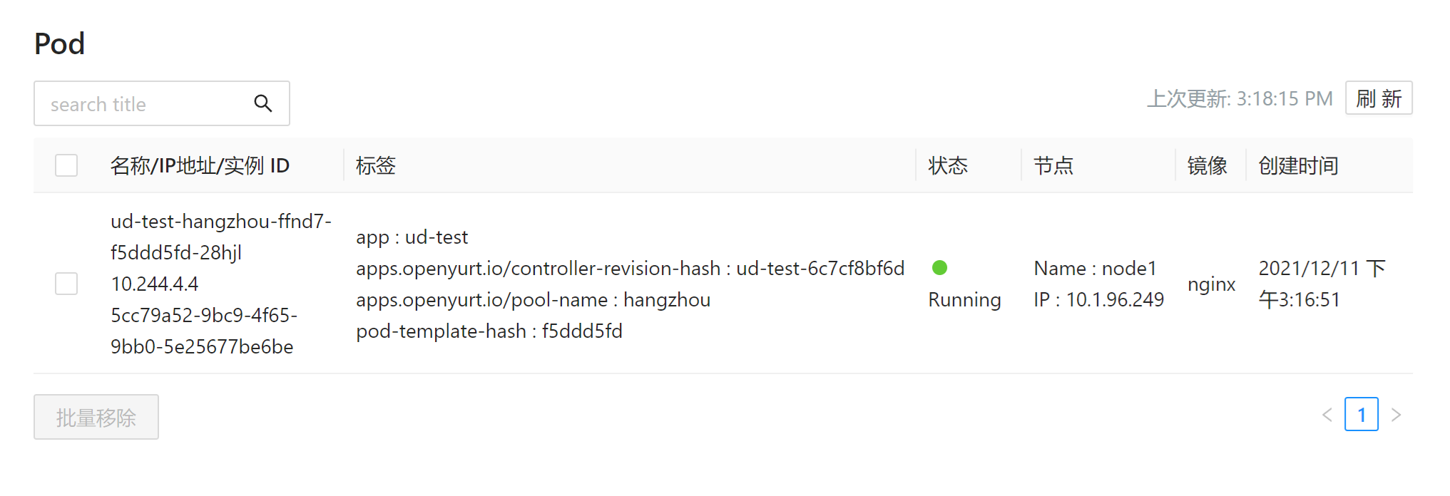
After successful creation, you can see on the browser page that the corresponding Pod is assigned to node1 in hangzhou node pool.
